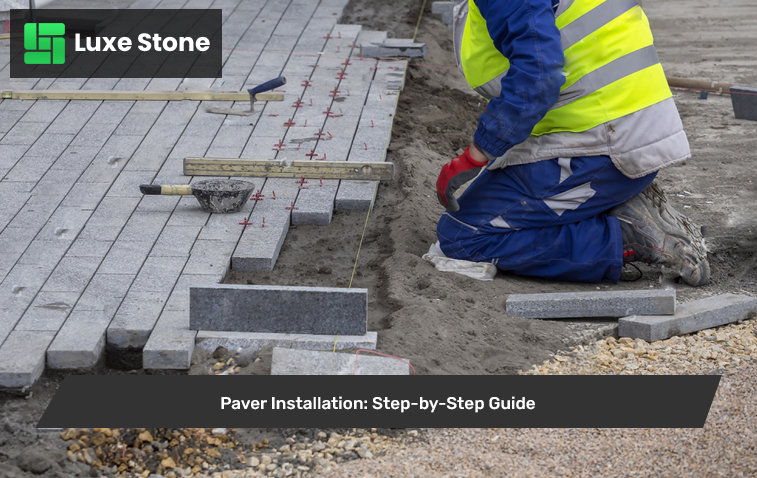
Paver Installation: Step-by-Step Guide
Paver installation is a job that lasts a very long time if done correctly. The main thing is that the work of applying pavers should be done patiently and carefully. For this, it is necessary that we follow the right method and order. Let’s discuss how to do this task step-by-step and increase the beauty of your home manifold.

Land Preparation
Surface cleaning: First it is necessary to remove large stones and debris from the entire place. This work should be done with hands so that nothing is missed. Then remove all the grass and plants including the roots. Use a hoof or shovel for this. Dig up the soil to a depth of at least 6 inches and flip thoroughly. This will also loosen the hard soil underneath. Now level the entire surface with a rake. During this time, separate all the small pebbles and stones as well. If you see pits anywhere, fill them with good soil. When the surface is very clear, sprinkle water lightly to see if water accumulates.
Level check: Level checking is very important work. Use a good spirit level for this. Check if the surface is uniform by placing the level every 5 feet. Then draw straight lines using the string line. These lines will help you understand where the surface is high and where it is low. Also place a long straight wood on the surface to see if there are pits or bulges in between. Keep in mind that a slope of 1 inch every 8 feet is necessary for the flow of water. Do not forget to make a 90-degree angle in the corners.
Creation of Base
Soil tightening: Soil tightening is very important for the strength of the paver. First lightly sprinkle water all over the place, but do not make the soil too wet. Then press the soil well using a plate compactor. Run the compactor in the same direction and everywhere at least twice. Make sure no space is missed. If you press with your hand, the finger should not sink into the soil. Pay special attention to the edges as there is often less soil crushing there.
Pour the base material: A mixture of sand and gravel is best used to pour the base material. Keep the ratio of 60% gravel and 40% thick sand in this mixture. First lay this mixture in a thickness of 2 inches and press it with a compactor. Then add the second layer and press it well. The total thickness should not be less than 4 inches. Lightly sprinkle water after adding each layer, this will allow the mixture to freeze well.
Preparation of edges
Applying edge restraint: Edge restraint is very important to strengthen the edges. Choose steel or plastic edge restraints that are at least 6 inches long. Draw the line at the edges first and then place the edge restraint on that line. Fix the edge restraint well into the ground by hammering nails every two feet. Pay special attention to the joints and make sure they are well connected to each other. Make the edge resistant stronger by adding soil to the edges.
Checking the corners: It is very important to correct the corners. Take a large L-shape square and set each corner to 90 degrees. Draw straight lines from the corners using a string line. With the help of these lines, you can see if all the corners are correct or not. If any corner is not right, correct the edge restraint by shaking it slightly. Put extra nails on the corners as there is more pressure here. Check the measurement of the corners two or three times as it is difficult to correct it later.
Sand layer laying
Sand Selection: It is important to take care of certain things while selecting sand. First, select fine and clean sand that has no pebbles or stones. The sand should be dry as wet sand is difficult to work with. If there is moisture in the sand, dry it by spreading it in the sun. There should be no soil or garbage in the sand. Good quality sand makes it easier to work and the result is also better.
Uniform layering: It is very important to make the sand layer uniform. Use a screed pipe for this. Place two screed pipes parallel and level the sand by spraying a straight wood over them. The thickness of the sand should not exceed an inch. A thicker layer can cause the pavers to become unstable. Do not walk on the sand after laying it. If the thickness of the sand seems to be more or less, then fix it immediately.
Applying pavers
Selection of pattern: There are several things to keep in mind when choosing a pattern of pavers. The herringbone pattern is the strongest and is better for traffic places. The running bond pattern looks simple and attractive. The basket weave pattern gives a classic look. Before choosing a paving pattern, place some pavers to see which pattern looks better. Remember that complex patterns are a bit difficult to work with and require more paver cutting.
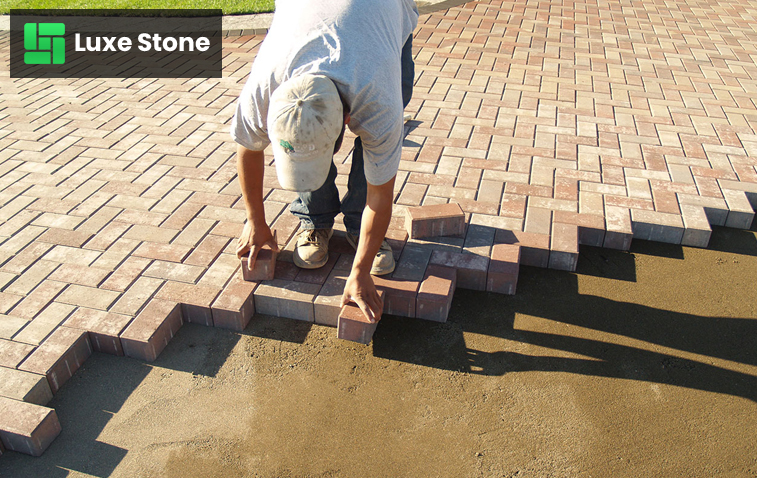
Orderly placement: Start with one of the corners of the paver. Place the first line very carefully because the rest of the work will depend on it. Press the paver lightly into the sand. Leave 2-3mm space in between each paver. Work in a straight line with the help of string lines. Keep checking the level after every 4-5 pavers. If a paver is high or low, fix it immediately.
Cutting & Fittings
Choosing the right tool Use the right cutter to cut the paver. A cutter with a diamond blade remains the best. Cut the paver coming to the exact measuring edges to the correct measurements. Incorrect measurements will make the job look bad.
Stuffing joints
Sand filling: Fill all joints with fine sand. Fill the sand well with a brush so that no space is left free.
Sprinkle water: After filling the sand, spray water lightly. This will freeze the sand well.
Compaction
Use the vibrating plate Run the vibrating plate over the entire surface. This will freeze the pavers well. Check the level again after the re-check compaction. There is no paver up and down anywhere.
Final Tasks
Cleaning Clean the entire surface thoroughly. There should be no dust or debris of any kind. Use Sealer installation if needed. This will keep the paver safe for a long time.
Paver installation is an important job that is very important to do correctly. If you follow all these steps carefully, you will get a beautiful and durable surface. Remember that patience and caution are the keys to the success of this work. The harder you do this work, the better the result will be.
Yes, dry weather is best suited for paver installation. Avoid working in rainy weather as wet soil and sand are difficult to work with and the base can also be weak.
Avoid heavy weight or traffic for at least 24 hours after paver installation. This will freeze the sand filled in the joints well.
Yes, if the old pavers are in good condition and not broken, they can be cleaned and reused. But matching the color with the new pavers can be difficult.
Well-planted pavers can last for 15-20 years without any major repairs. However, sanding may need to be done every 2-3 years.

